Showing posts with label creative station. Show all posts

Friday, July 25, 2014

Xyron, Maya Road BLOG HOP!

Welcome to the Xyron & Maya Road blog fest this week, 
check out the cool prizes they are giving away and my project today! :) 

These are my very vintage mixed media cards I created using MR and Xyron. 
I am going to give a quick rundown of how I created these. 
If you make cards and DO NOT have a Xyron 9" Creative Station
trust me YOU NEED ONE! Like now...it makes card making so easy I love it. 
 Trim patterned paper to 4.5X6" Trim cork paper to 4X5.5" and use
Xyron 9" Creative Station to layer papers. 
In fact I fold my card base and run it right through my Xyron 9" Creative Station
so the cover on the cards sticks evenly and perfectly every single time. 
 Using Maya Road Canvas Coaster Album stamp sentiment onto
canvas itself. Using Xyron Adhesive Dots adhere canvas coaster
to front of card. 
 Love Clip to front of card.
 See?? Xyron really does make adhesive for EVERY project and every medium. 
 Be sure to head to the Xyron blog and check out the prizes and
enter to WIN BIG!

Products Used:
Photobucket

Monday, June 23, 2014

Creating Vintage Albums Using Origami Papers And Xyron

Hey there friends, 
I have so many projects to share this week, I don't even know where to 
start so I will start with this cool Camera Album I created using ORIGAMI 
paper from CutCardStock. 
If you head to the CCS blog I have a FULL step by step tutorial how I 
created this vintage style look using CCS Origami paper and my Xyron. 
 Also I believe they are doing giveaways right now as well!
My Creative Station comes in so hand for all my projects
and with it, I would not have been able to  create this cool effect. 
Go check out the post-
See y'all tomorrow with another project....every day this week I have something fun! :)
Photobucket

Wednesday, May 21, 2014

Travel Game W/ Paper House And Xyron!

Hey there friends, 
Hello HUMP DAY!
It's the Paper House & Xyron Co-Hop and I have a fun project
to share with a full tutorial of course!
I created this travel Tic Tac Toe game with a travel box. 
Each end has these cool embellishments from Paper House.
The box itself stores the chalk and the game.
Here is how I created it. 

Take apart wooden box (Michaels). By removing handle. 
Take card stock and run through Xyron 9" Creative Station. 
Take 6X6 paper from Paper House and run through 

Cover box with card stock and trim edges, then
cover with patterned paper. 
stickers to each end. I used the wet adhesive to ensure adhesion on the wood. 
Ink around all edges. 
Re-attach knob. 
Trim out 4X4 chalkboard paper. 
adhere to Paper House 6X6 paper. 
Now you have the game. 
Roll game to fit into box. 


I also created this card using the same Paper House papers and stickers
Check out Xyron and Paper House this week!

Photobucket

Monday, December 2, 2013

Christmas Clock Handmade With Xyron And Heidi Swapp!

Good morning and hello Monday!
It's already December 2nd, time for that Christmas Decor. 

I wanted to share a step by step tutorial today for this clock. 
 I know you can go anywhere and buy a cheap Christmas clock, 
but I love to create my own decor, so I went to Michaels and grabbed
a wood circle, and clock kit at 40% off and went crazy! :) 
 Every detail is mine and it costs me maybe all of 10.00!
Start with your wooden circle. I had hubby drill a 5/16" hold int he center. 
Now getting to the center of the circle was tricky but after that it was easy. 
 Spray paint the edges and sides GOLD because realistically
I didn't make it for Christmas if I didn't spray paint it GOLD somewhere! haha
After that I took these cool Color Shine pieces from the Heidi Swapp line.
I used the Color Shine mist to mist them. 
I lined u how I wanted the clock to look. 
My clock was almost 9" so I used my Silhouette to trim out a 8.5" circle
so the gold painted edges would show a little. 
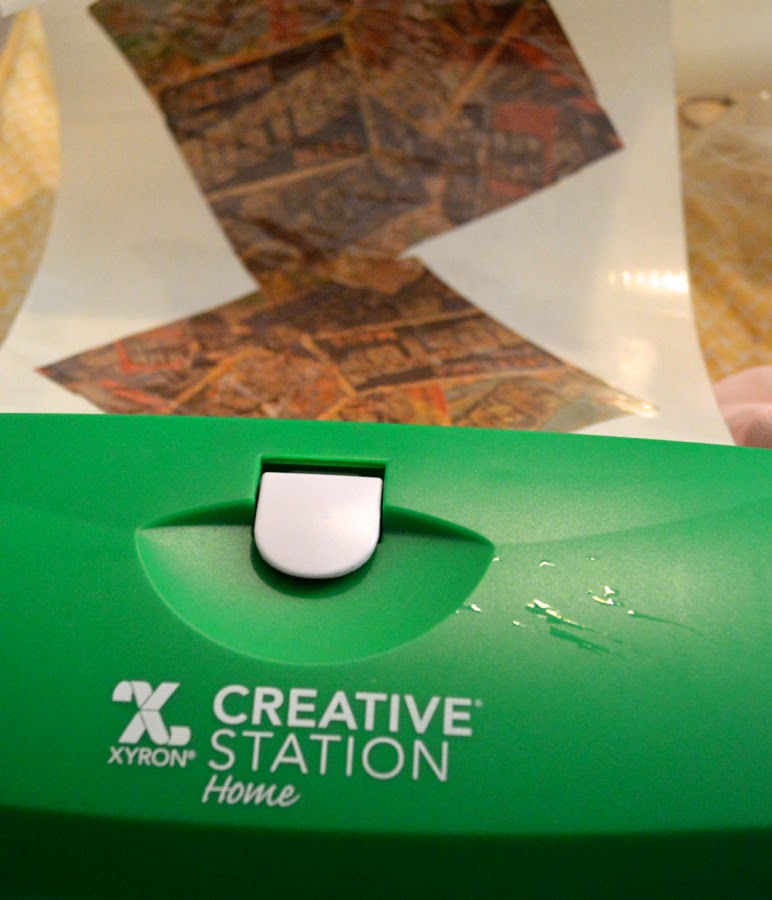
And I used my Xyron 9" Creative Station to adhere to circle. 
I love the Xyron 9" Creative Station because the adhesive coverage
is perfectly even- no bubbles, no warping just adhesive!
I used the Color Shine mist to add a little coordinating color on the clock. 
Wiped off the excess then applied the sticker circle. 
Then I punch out the hole in the middle. 
Then I added the clock bases leaving the hands off. 
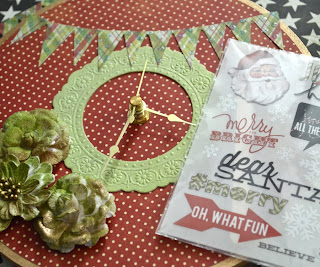
Now run the banner and Color Magic accessories through the 
Xyron 9" Creative Station- press and rub firmly.
How adorable is this embossed Color Magic circle in the center? I love it!
After I applied the Color Magic Circle-  I put the clock hands on. 
Because I wanted to be able to know if they touched the embellishments. 
Now apply the banner and flowers. 
Put the rub-ons on the face of the clock. 
Use the Xyron 3/16" Adhesive Dots to apply the pearl strand.
Now remember that adhesive sheet from the 8.5" circle? The one from the
Xyron 9" Creative Station? These are perfect for sticking alphabet onto so you can spritz them!
I stuck them right on the sheet, then peeled them off. 
Now because I over misted mine- I had to wipe the backs off and 
apply more adhesive. Normally I would just lightly mist them and peel them 
off when dry- but I went crazy LOL 
Anyways I simply wiped off the back and ran them through the
Then take a ruler and apply the numbers. 
Add liquid pearls or stickles if desired.
The clock kit came with a hanger so it hangs perfectly!
I cannot wait to hang it up!
You can find more posts from the Xyron team at
https://www.facebook.com/xyroninc
or http://aintshecrafty.blogspot.com

Happy Monday friends! :)
Photobucket